Air Conditioning Services
Reliable Cooling Solutions Built for Extreme Heat
When Phoenix temperatures push past 100°F, your AC system needs to perform without hesitation. Dial One Mears provides air conditioning service designed for the Valley’s long, demanding cooling season, with fast response when comfort can’t wait.
AC Services Designed for Every Situation
Repair, Installation, and Maintenance You Can Count On
No matter what’s happening with your system, there’s a clear path forward that fits your situation and budget. Dial One Mears helps you understand your options so you can move forward with confidence instead of guesswork.
AC Repair
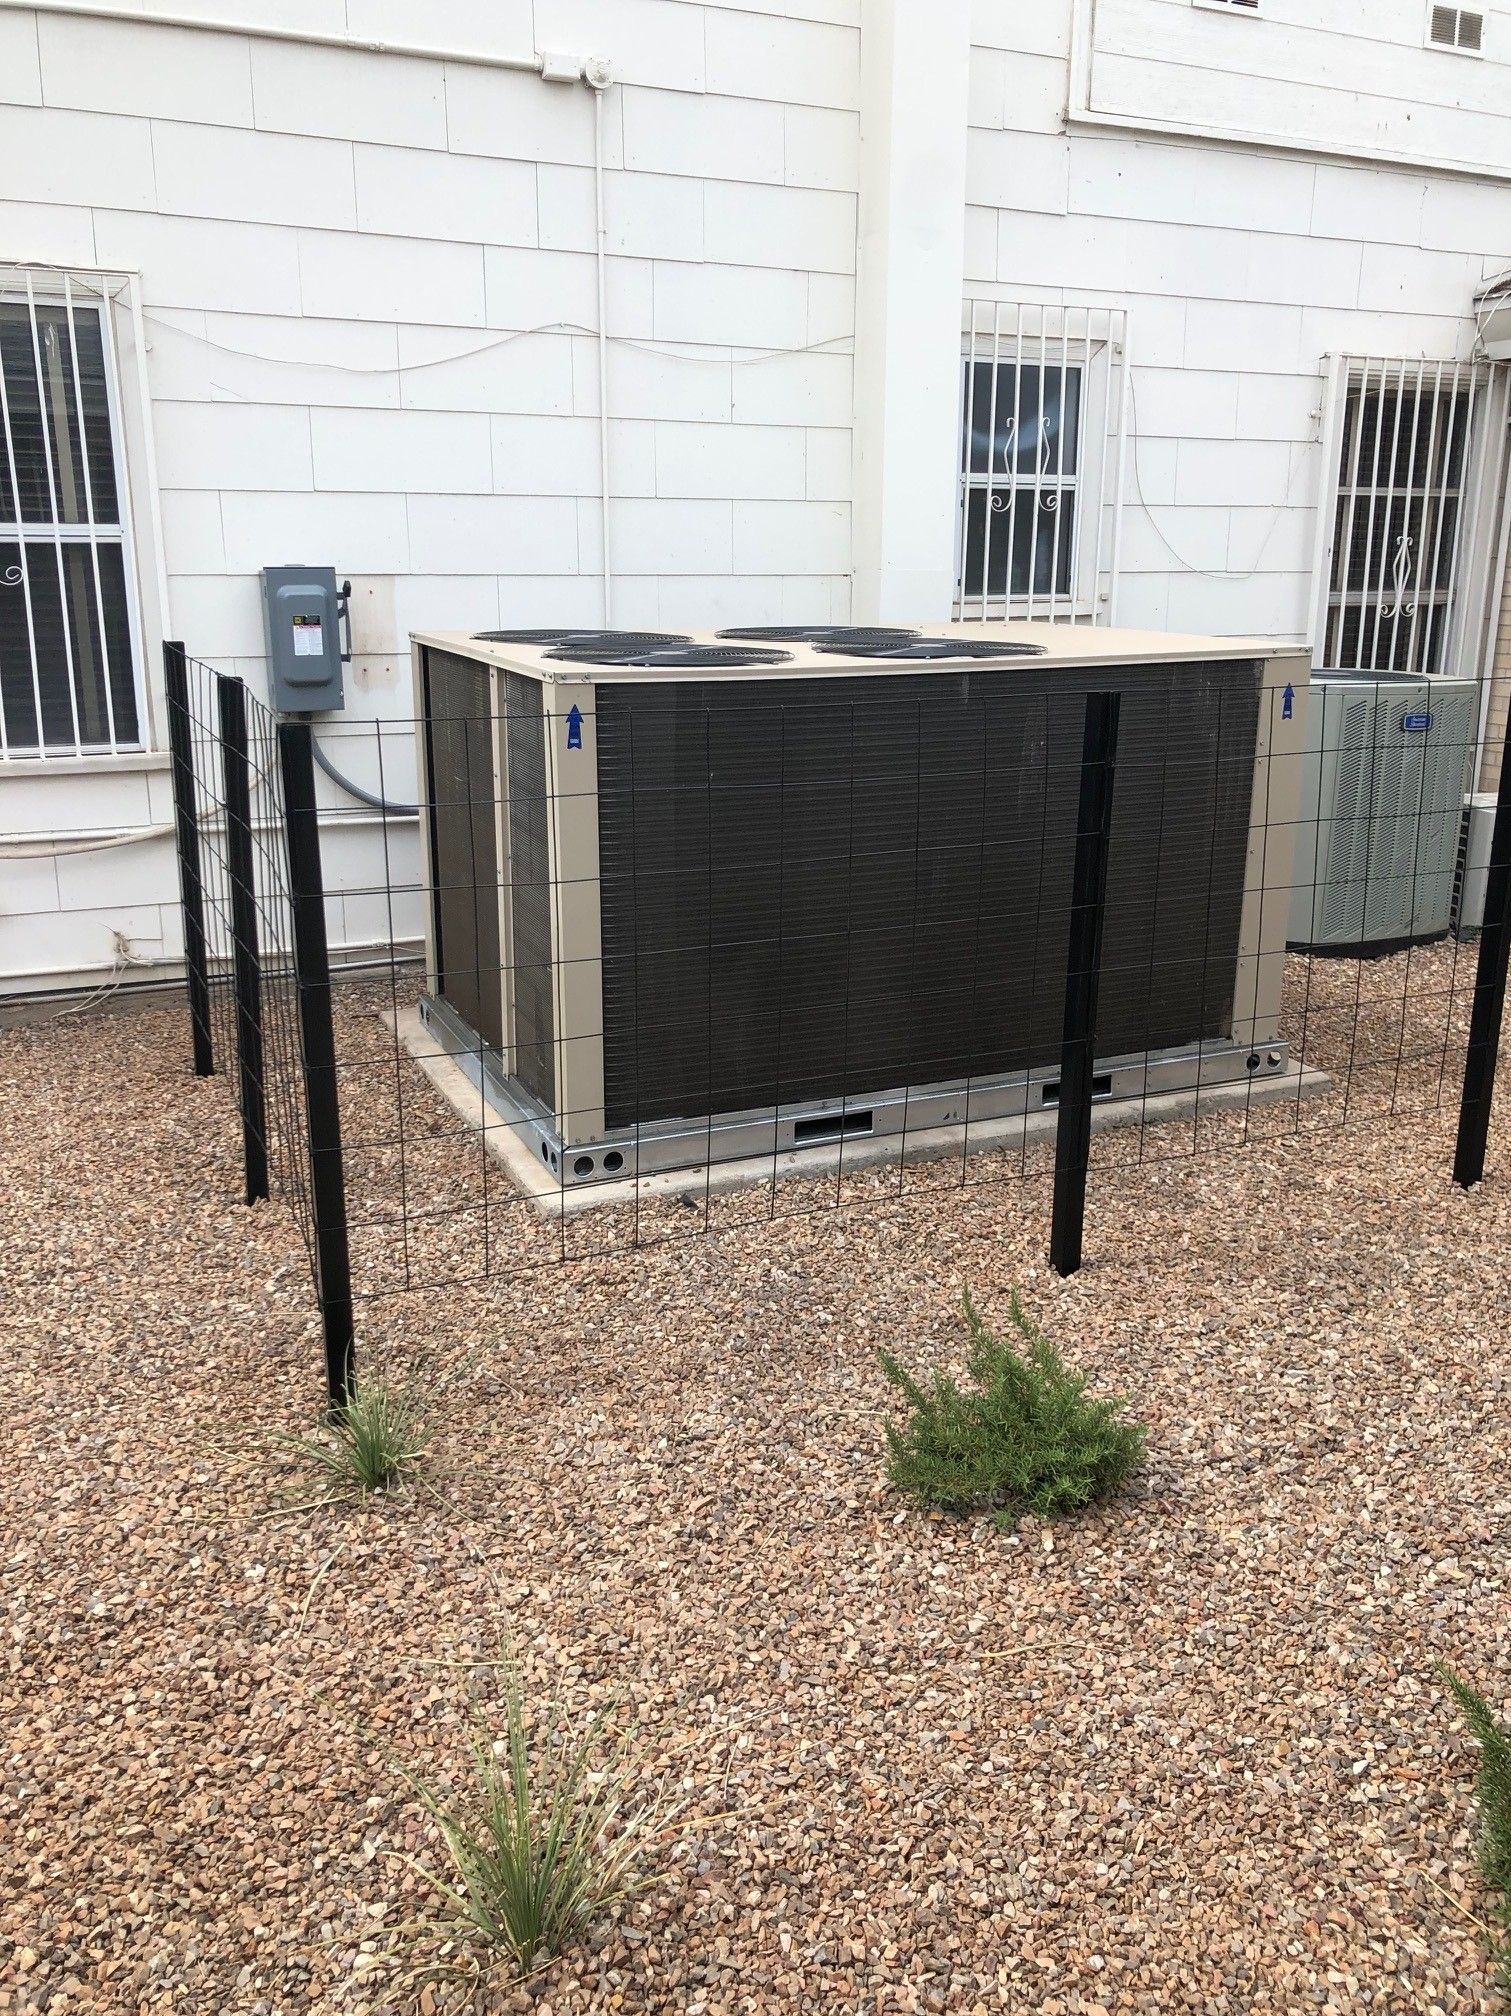
When your system stops cooling or struggles to keep up, fast diagnosis and repair can prevent bigger problems. Our team provides responsive service across Phoenix, including emergency support when cooling issues can’t wait.
AC Installation & Replacement
If your system is aging or no longer efficient, replacement may be the better long-term option. We help you choose the right system for your home, including high-efficiency options and Lennox systems as a Premier Dealer.
AC Maintenance
Regular maintenance helps prevent breakdowns during peak summer demand. Our service agreements are designed to keep your system running efficiently while reducing unexpected repair costs.
Cooling Service That Matches Phoenix Conditions
Clear answers, clean work, and comfort that lasts
If you’re worried your AC will quit during the next heat wave, you’re not alone, and the good news is that many cooling issues show warning signs early. Weak airflow, uneven temperatures, frequent cycling, and strange sounds often point to problems that can be addressed before they become bigger and more expensive. We also look beyond the unit itself, because duct leakage and poor airflow can make a perfectly good system feel like it’s failing. Zephyr Environmental Solutions serves Charlottesville and nearby communities like Albemarle County, Crozet, Ruckersville, and Zion Crossroads, with scheduling that makes it easy to get help quickly.
Common Questions About AC Service in Phoenix
Clear Answers Before You Get Started
Do you offer AC repair and installation?
Yes, Dial One Mears provides both AC repair and full system installation services. Whether your system needs a quick fix or a complete replacement, we’ll help you understand the best option based on performance, age, and efficiency. Our goal is to make sure you’re not overpaying for the wrong solution.
Do you offer AC maintenance plans?
Yes, we offer maintenance plans designed to keep your system running reliably through Phoenix’s long cooling season. These plans include scheduled service visits that help catch issues early and reduce the risk of breakdowns. Ongoing maintenance also helps improve efficiency and extend system lifespan.
Do you service all AC brands?
We service all major AC brands and system types. This allows us to help you regardless of what equipment you currently have installed. As a Lennox Premier Dealer, we also offer access to trusted systems when replacement is needed.
How quickly can you respond to AC issues?
We offer fast response times across the Phoenix area, including 24-hour emergency service when needed. In extreme heat, delays can quickly become serious, so we prioritize urgent cooling issues. Our team works to restore comfort as quickly as possible.
Should I repair or replace my AC system?
The right choice depends on your system’s age, condition, and repair history. If repairs are becoming frequent or costs are increasing, replacement may provide better long-term value. We walk you through both options clearly so you can make a confident decision.